Setup
WebPush Setup
-
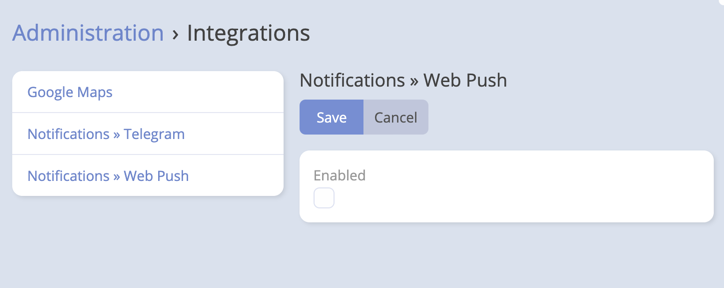
Navigate to Integrations -> Web Push.
-
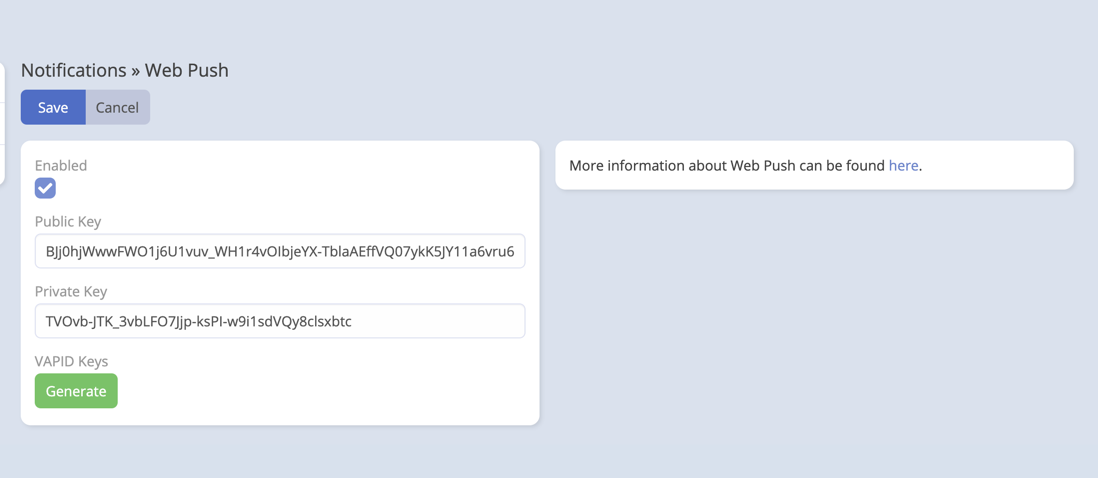
Add VAPID (Voluntary Application Server Identification) public and private keys. If you don't have keys, you can press the "Generate" button to create them.
-
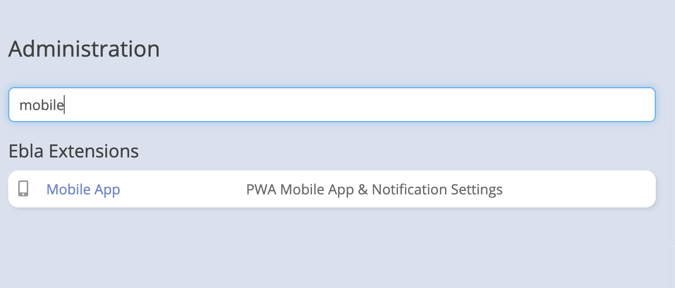
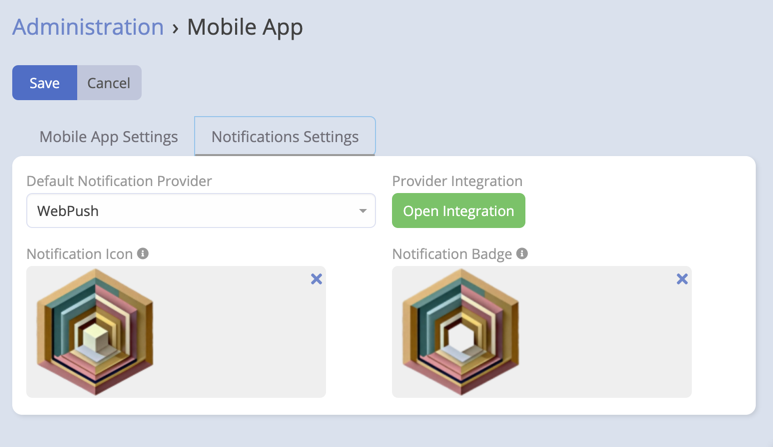
Go to Administration -> Mobile App -> Push Notifications Configuration.
-
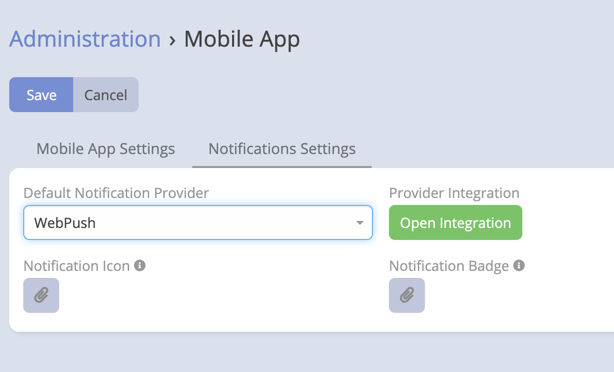
In the Push Notifications Configuration, find the "Default Provider" setting and change it to "WebPush."
-
Setup Notification Icon and Badge by uploading a PNG images.
-
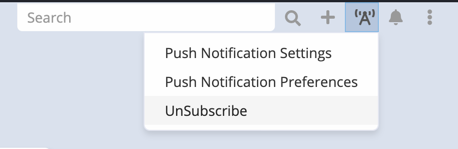
Users can subscribe and unsubscribe to push notifications from Push Notification Preferences.
Now, your EspoCRM instance is configured to use WebPush for push notifications.
Note:
- Ensure that your browser supports WebPush.
- Users need to grant permission to receive push notifications when prompted by the browser.

Troubleshooting:
- If users are not receiving push notifications, double-check the VAPID keys and ensure that the WebPush provider is correctly set as the default in the Push Notifications Configuration.
- Review your server logs for any error messages related to push notifications.